> For the complete documentation index, see [llms.txt](https://docs.nf.domains/llms.txt). Markdown versions of documentation pages are available by appending `.md` to page URLs; this page is available as [Markdown](https://docs.nf.domains/nfd-docs/guides/manage-nfds/verifying-metadata/github-verification.md).
# Github Verification
## Personal Verification
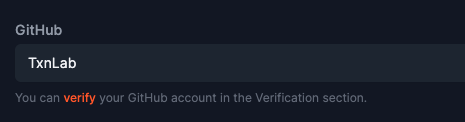
To verify Github, enter your handle into the Github field of your NFD (see [Setting Metadata](/nfd-docs/guides/manage-nfds/setting-metadata.md)) & update it.
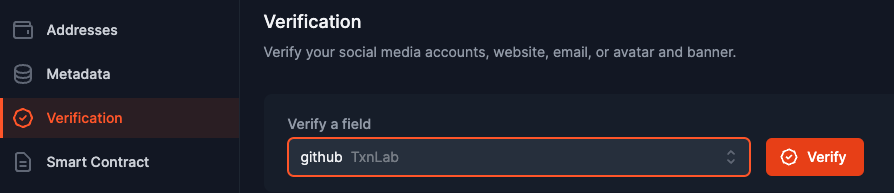
Once the field is updated, you will see a 'verify' option show up in the Verification tab, as well as in the Metadata tab below the Github field.
Verifying from Edit -> metadata page
Verifying from Edit -> Verification page
When you click verify, you'll see a dialog to 'start verification'. Click that. You'll next see a modal like this:
Follow the directions, creating a **PUBLIC** gist for your user with the contents as specified. Once completed, come back to the NFD page and click Confirm.
If your handle is an organization, do NOT create a gist but follow the changes below.
## Organization Verification
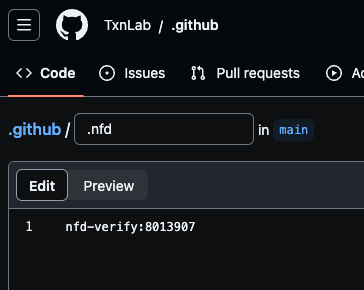
Follow the directions above but instead of creating a gist, set the nfd-verify:xxx challenge value into a root file called "**.nfd**" in the **.github** Organization Repo for your organization.
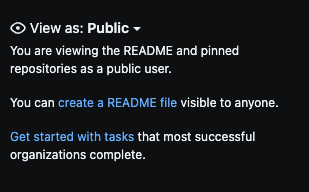
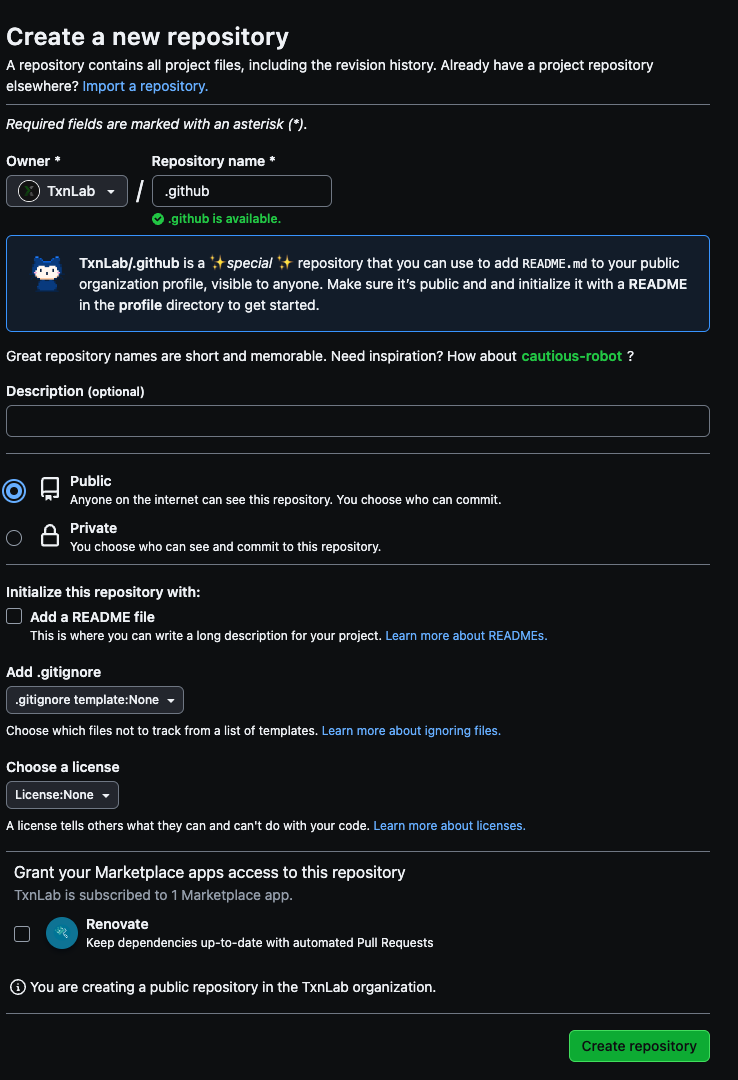
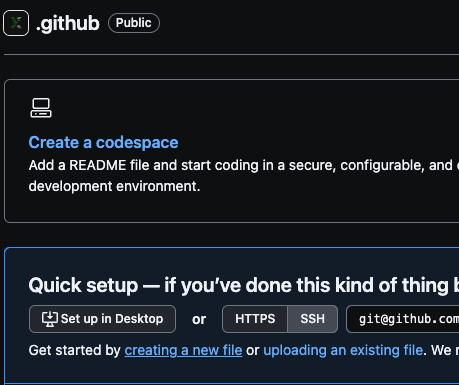
If you don't already have a .github repo, one easy way of doing it is to click the 'create readme' link on the right of your organizations github profile page. You can also click the '+' dropdown menu and click New Repository - naming it .github.
Clicking 'create a README file' will create your .github repo
If you choose the 'New Repository' route. Here is an example - **notice it must be public** !
Add new .github repo to Organization
If you create the empty .github repo like above, then click the 'creating a new file' link.
followed by naming the file '.nfd' and pasting in the challenge:
Commit the changes and then switch back to the NFD page and click Confirm.
Your Organization's Github Handle will now be verified.